Garmin Bike Speed And Cadence Sensor Manual
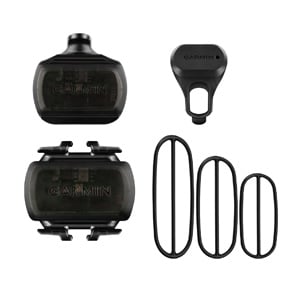
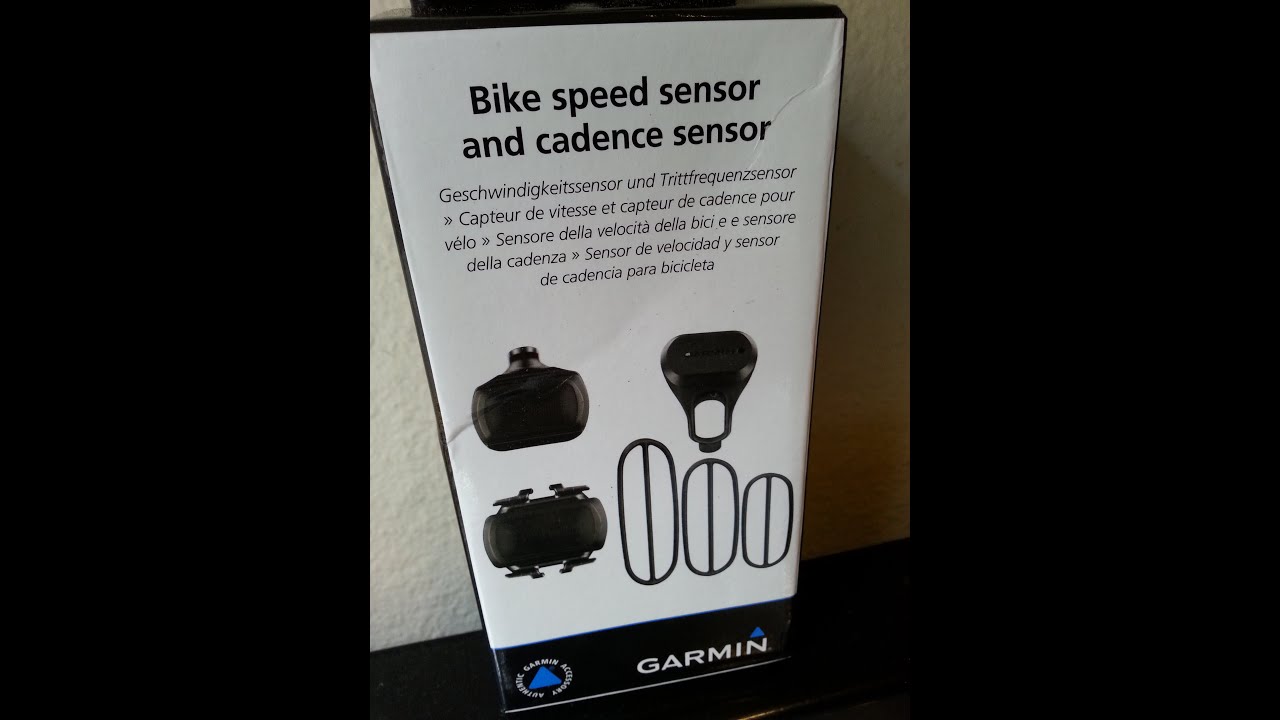
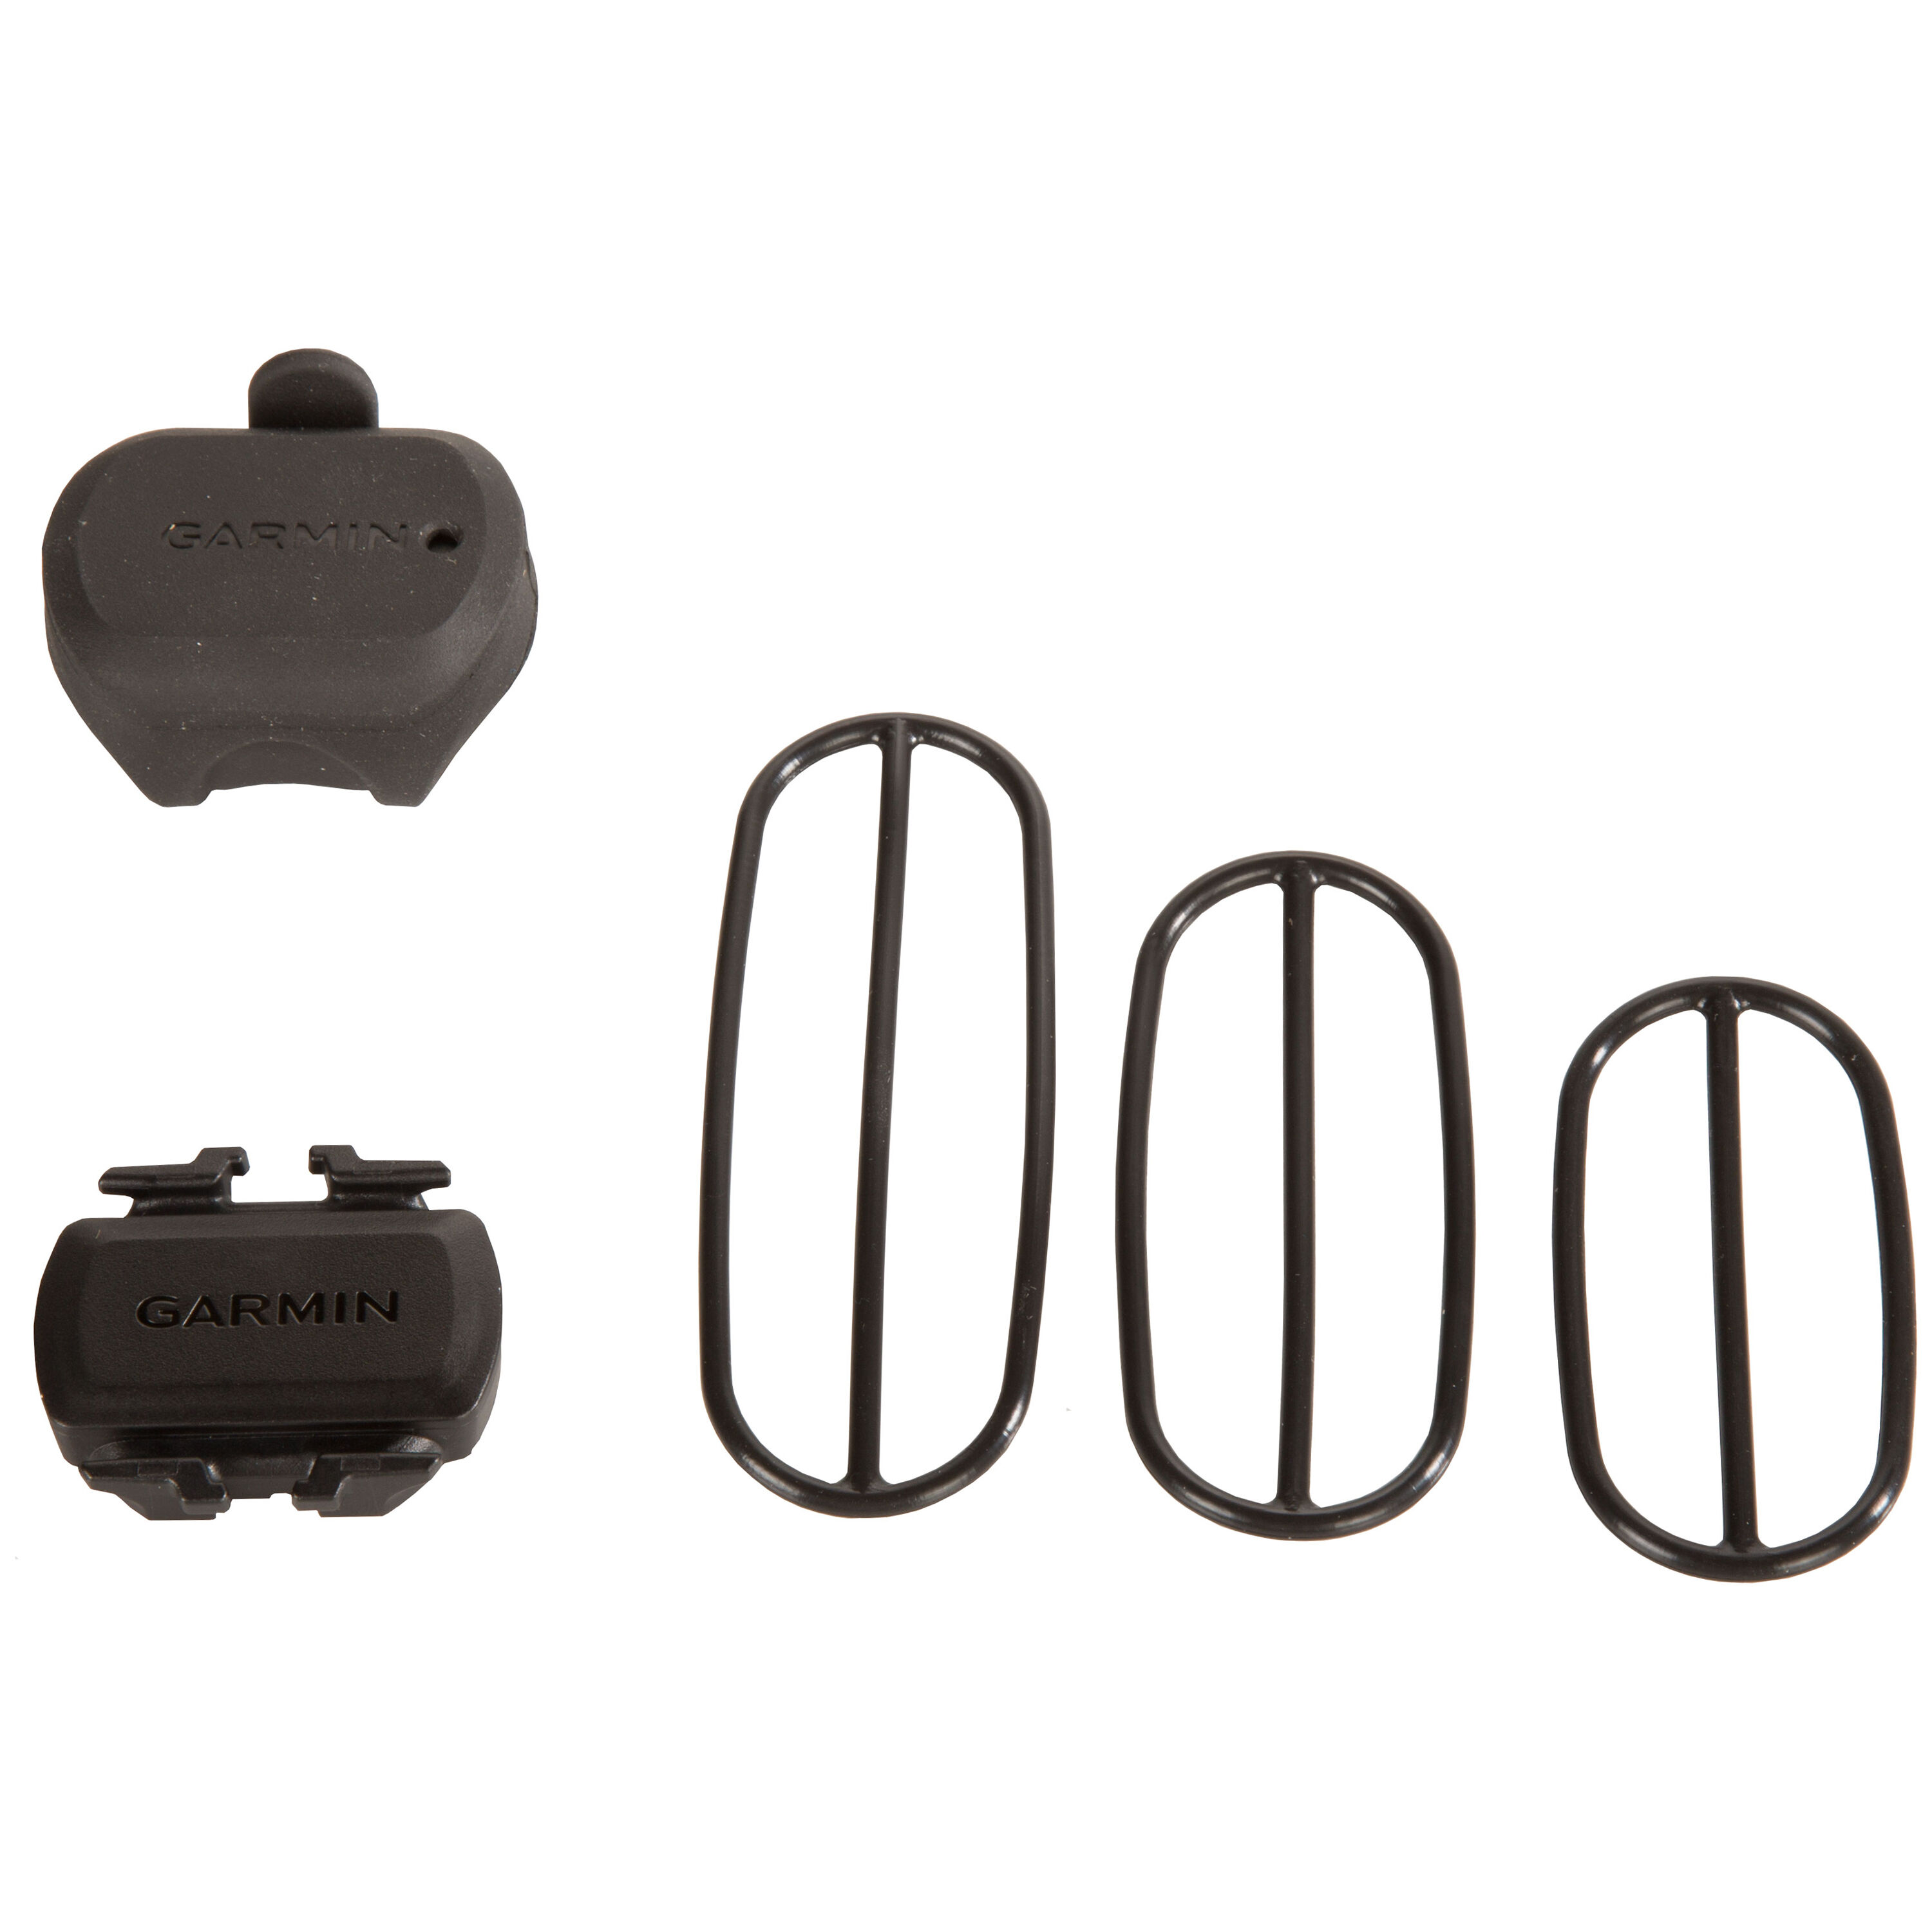
Bike Speed Sensor And Cadence Sensor Garmin
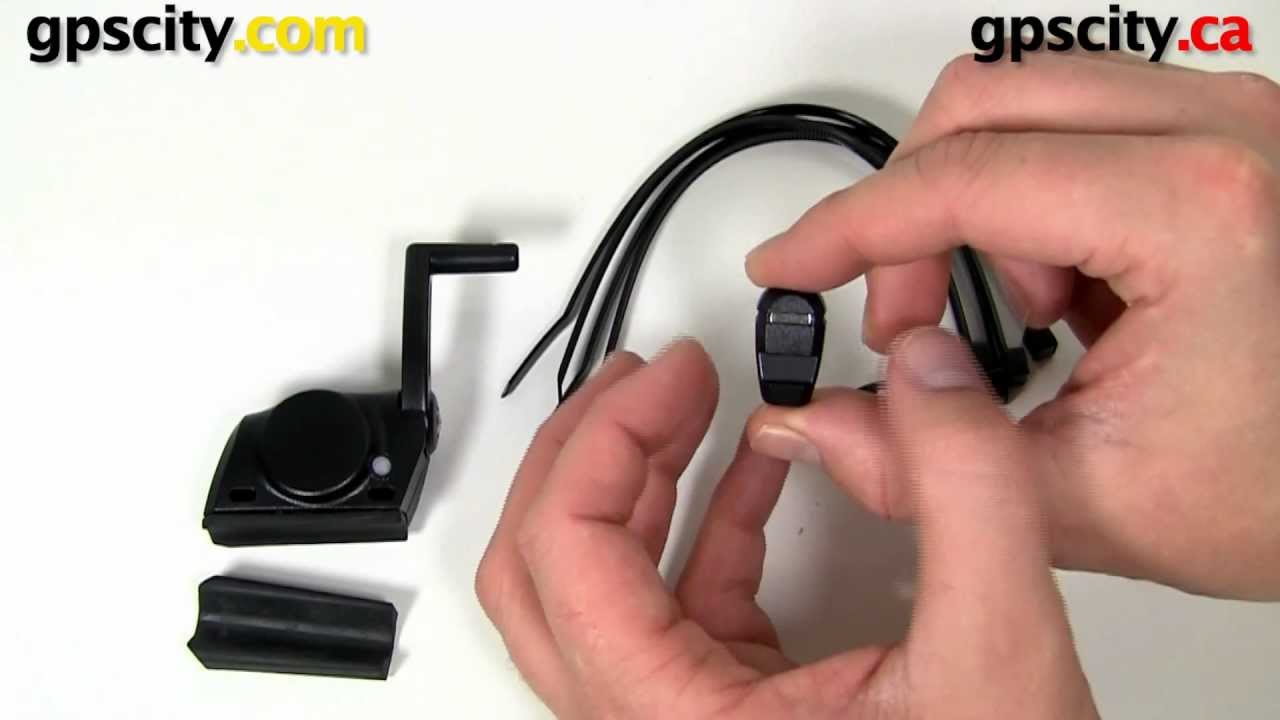
Garmin Speed And Cadence Sensor Overview At Gpscity Com Youtube
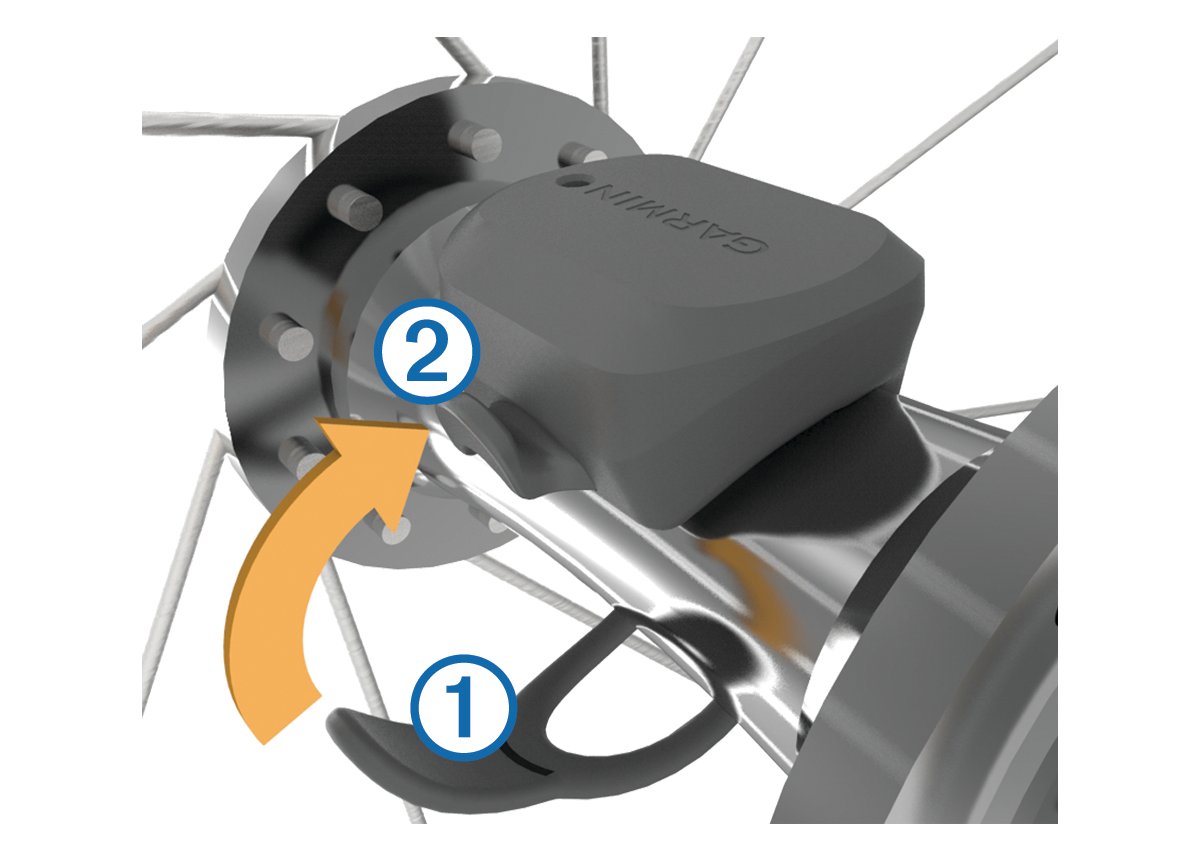
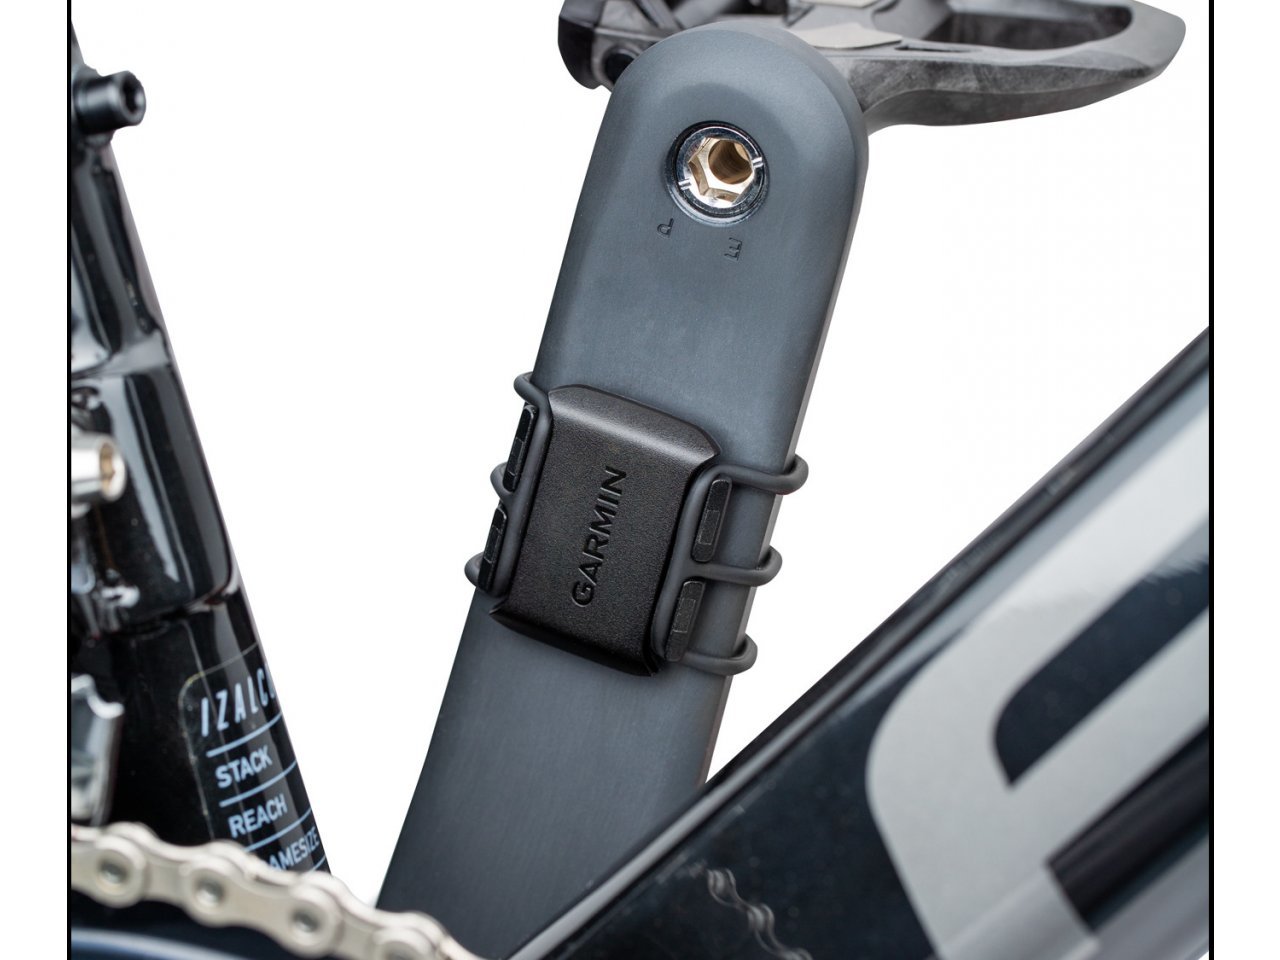
Speed Sensor And Cadence Sensor Instructions Installing The Speed Sensor
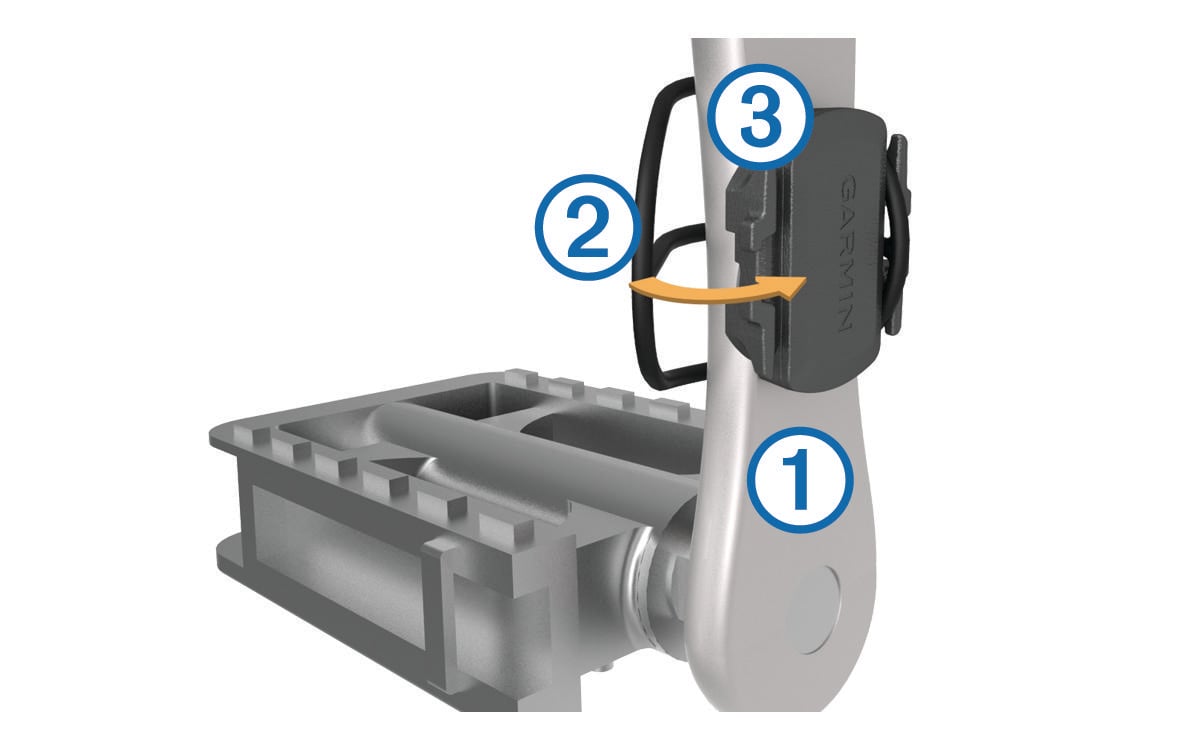
Speed Sensor And Cadence Sensor Instructions Installing The Cadence Sensor

Garmin Edge25 Bundle Garmin Garmin Edge Garmin Edge 25

Speed Sensor And Cadence Sensor Instructions Replacing The Speed Sensor Or Cadence Sensor Battery

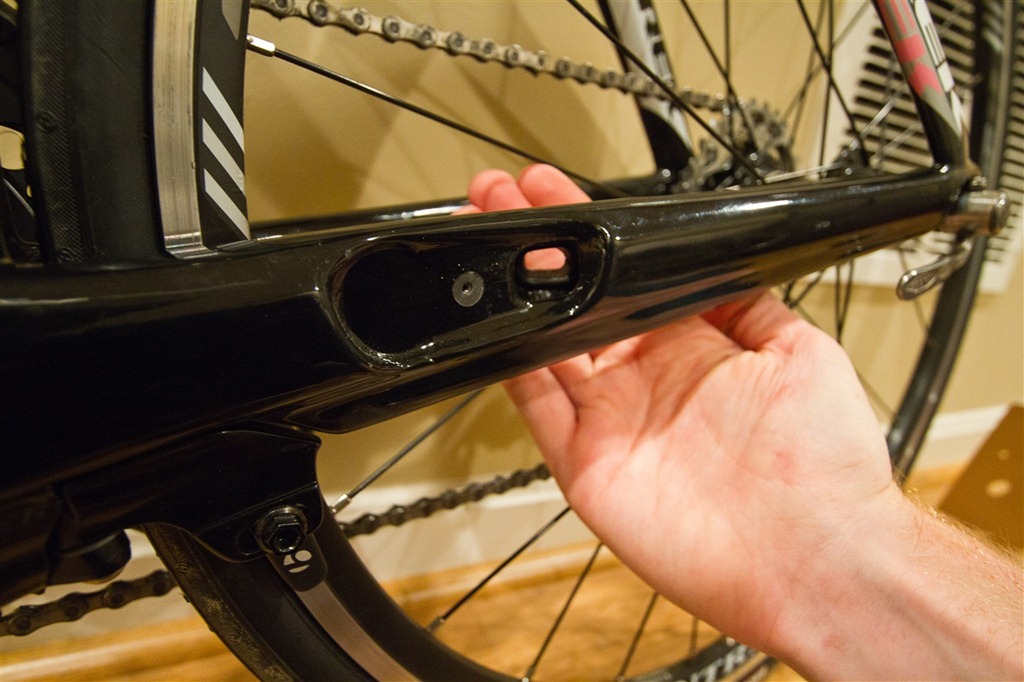
The speed sensor attaches to the hub of either wheel and self calibrates with your edge to give you accurate speed and distance at all times including indoors on the turbo trainer.
Garmin bike speed and cadence sensor manual.
Garmin Speed And Cadence Sensor Accuracy Unboxing Amazon Manual Outdoor Gear Edge 1000 Battery Setup 810 Expocafeperu Com
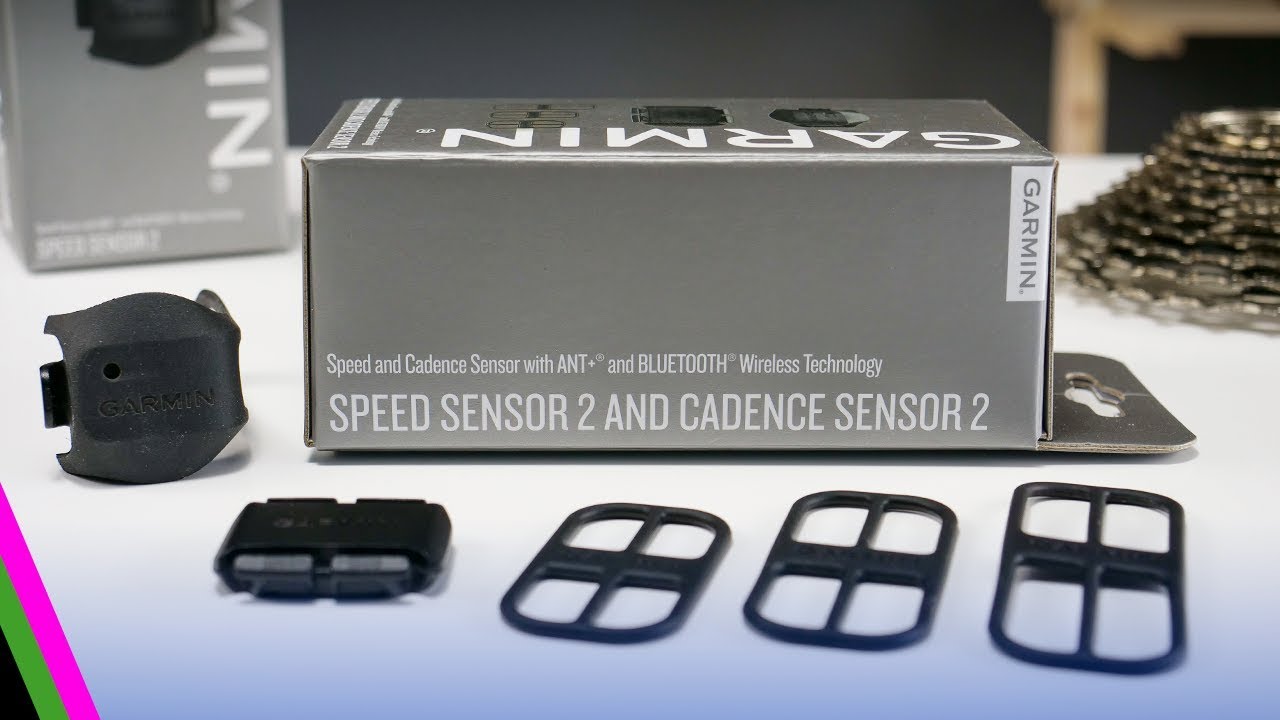
Garmin Speed Sensor 2 Cadence Sensor 2 In Depth Review Youtube
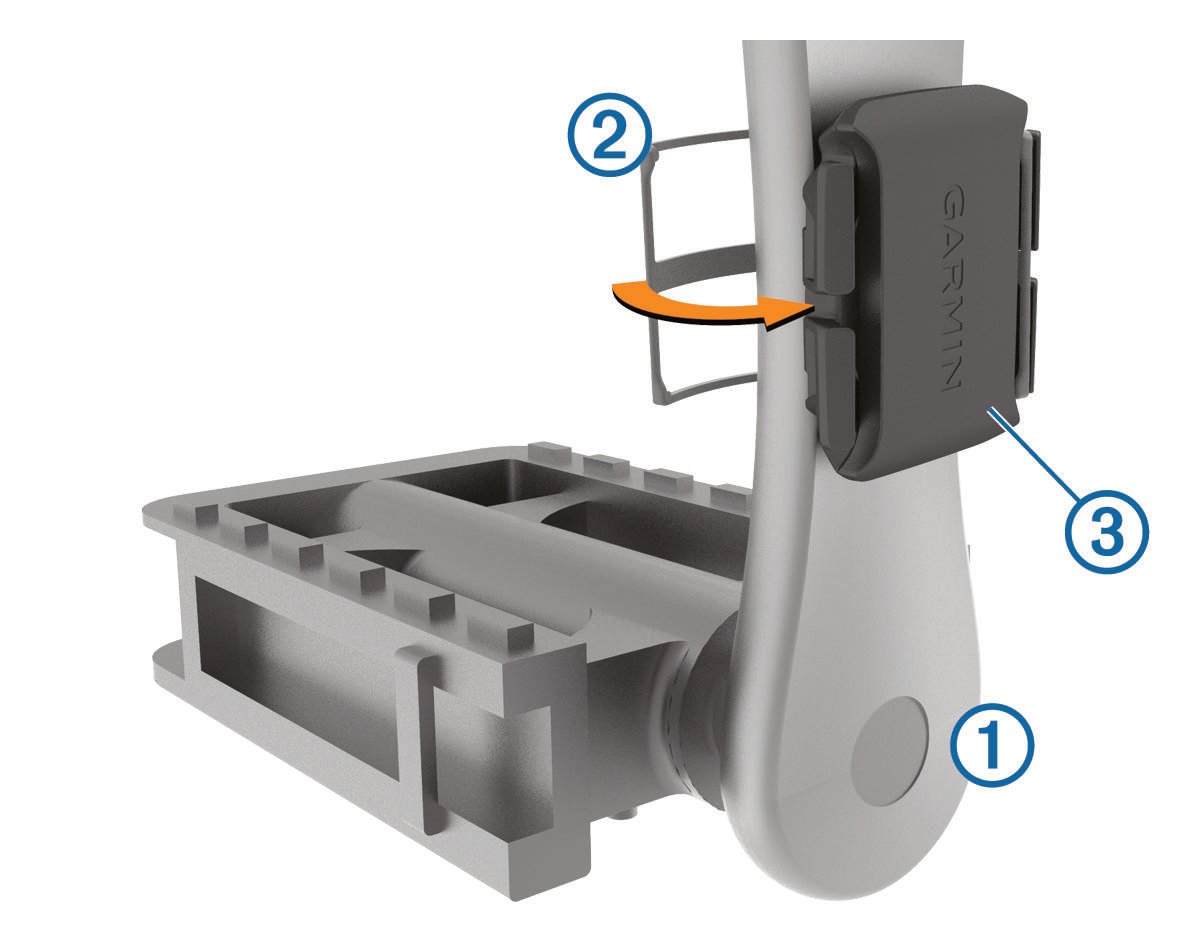
Speed Sensor 2 And Cadence Sensor 2 Installing The Cadence Sensor
Edge Devices And Speed And Cadence Sensor Compatibility Garmin Support
The Ant Bike Speed Cadence Sensor Everything You Ever Wanted To Know Dc Rainmaker

Pin On Bikes

Edge 1000 Garmin Garmin Edge 1000 Cycling Computer Garmin Edge
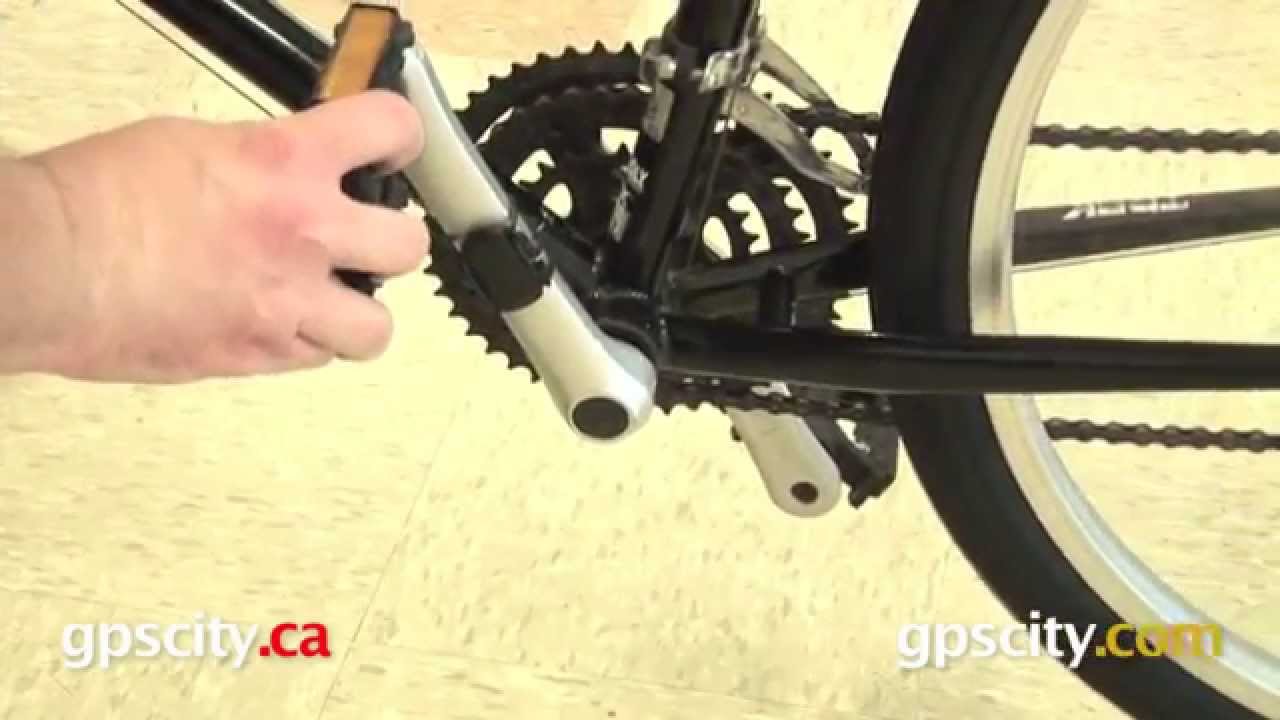
Garmin Cadence Sensor Installation With Gps City 010 12104 00 Youtube

Garmin Bike Speed Sensor 2 And Cadence Sensor 2 Bundle Rei Co Op

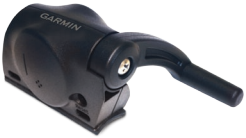
Garmin Gsc 10 Wireless Speed Cadence Sensor Manual

Garmin Fr70 Blue W Hr Tracks Time Heart Rate And Calories Optional Foot Pod For Distance And Speed Data Optional Speed Garmin Garmin Connect Things To Sell

غارمين غارمين أحدث سرعة الإيقاع الاستشعار النمل دراجة دراجة سرعة الاستشعار Fenix2 حافة 510 810 1000 رائد 920xt Vivosmart Bicycle Bike Garmin Bicycle

Garmin Fenix 3 Gray Bundle With Heart Rate Monitor And Bike Speed Sensor And Cadence Sensor More Info Coul Garmin Fenix Garmin Heart Rate Monitor

Garmin Fenix 6s Multisport Gps 42mm Silver Black Band Starter Bundle 01 753759232887 Ebay In 2020 Garmin Garmin Fenix Gps
How To Install Garmin Speed And Cadence Sensor Youtube
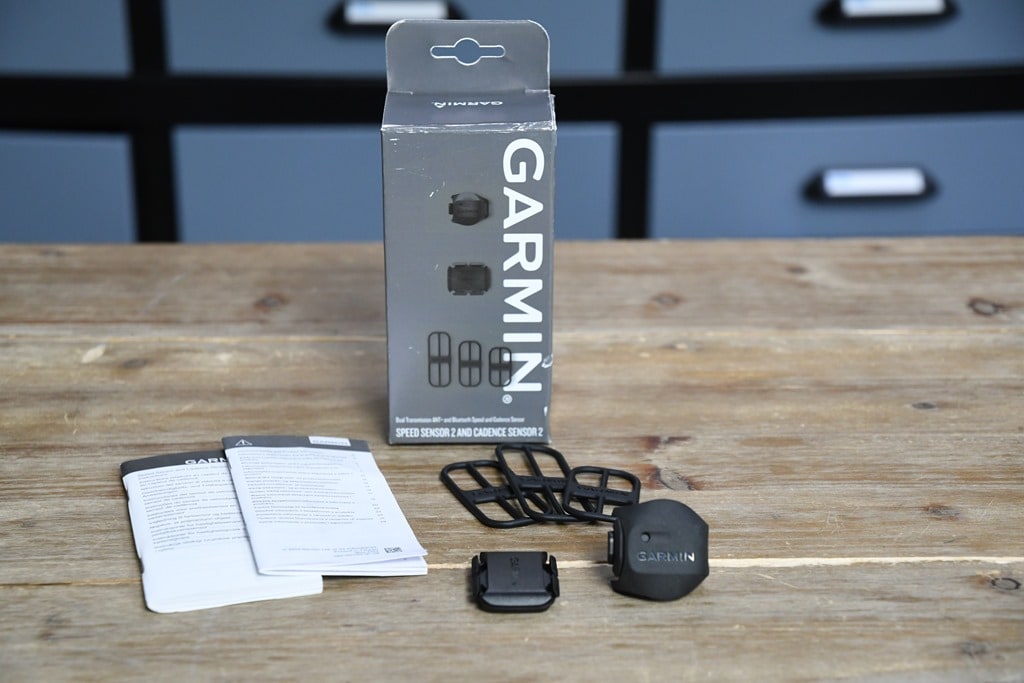
Garmin Speed Cadence Sensors V2 With Ant Bluetooth Smart In Depth Review Dc Rainmaker
Tutorial Speed And Cadence Sensor Installation And Pairing Youtube
Garmin Speed And Cadence Sensor Troubleshooting Dc Rainmaker Setup Pairing Outdoor Gear Bike Install 1 Edge 1000 Expocafeperu Com
1
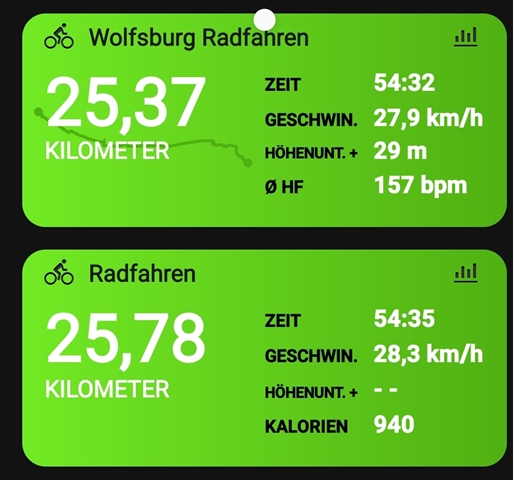
Bike Speed Sensor 945 Activities Doubled Despite Of Paired Forerunner 945 Running Multisport Garmin Forums

Pin On Garmin

New Garmin Speed Cadence Sensor 2 2020 Youtube
Racebike Tours Happy Biking Tours Bike Triathlon

15 Best Cycling Speed And Cadence Sensors 2020 Heavy Com
Source : pinterest.com
